Ready to Dive Deeper?
Explore design theory, discover what’s trending, get the latest industry news, and learn how to mix and match siding colors, styles and textures to help you design beyond ordinary. Whether you’re an experienced contractor or a homeowner learning the difference between lap siding and board and batten, our blog is here for you.
What is Rabbeted Trim and How is it Used?
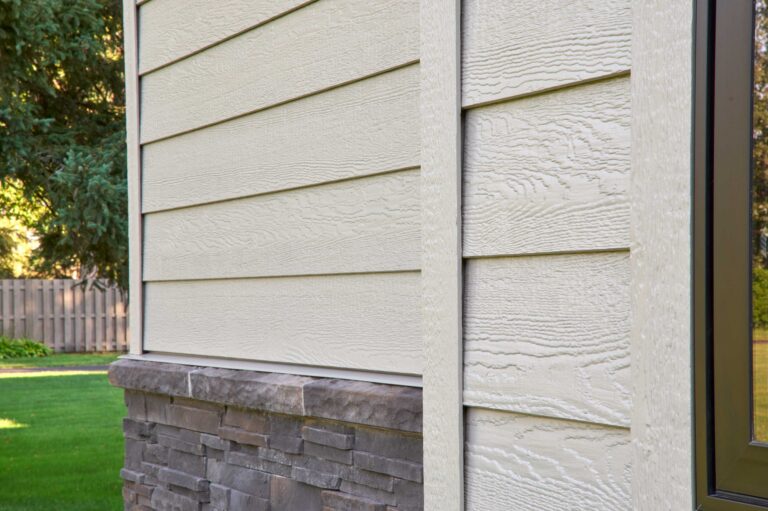
What does rabbeted mean? Rabbeted refers to the pocket built into the trim or corner. This product feature, also called a J-Pocket, allows the siding to tuck into the trim instead of butting its edge. Not only does this save time on measuring and cutting, but it also eliminates the need for caulk and immediately […]
Look around your neighborhood, and you’ll see a variety of siding materials and a wide variety of siding styles. Lap siding, vertical siding, and shake siding are all prominent styles in the United States.But what benefits does each kind of siding add to your home exterior? Siding is More Than Aesthetics A beautiful exterior makes […]
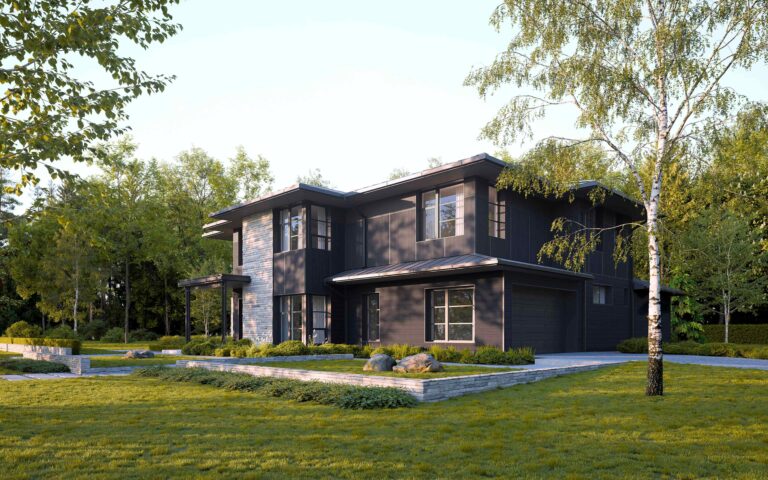
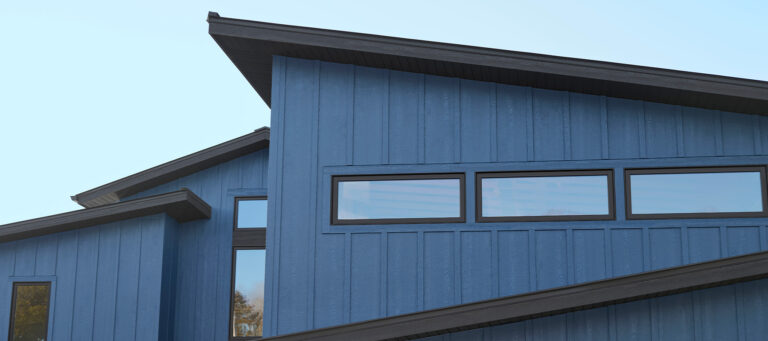
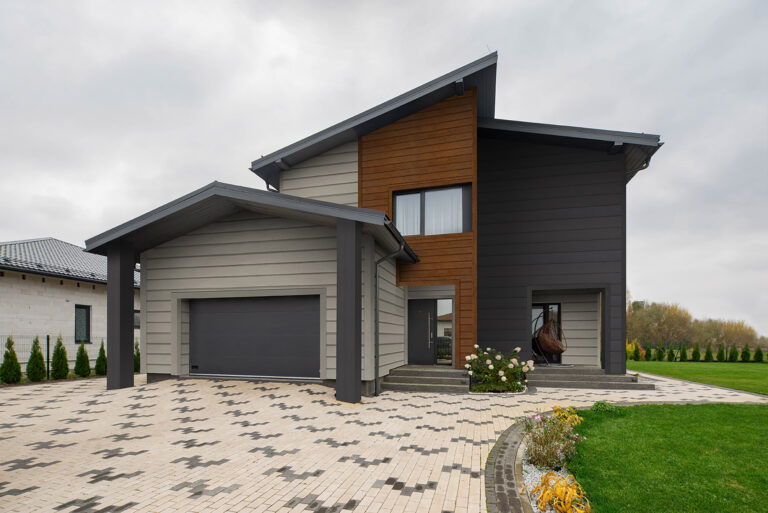
With their clean lines, geometric shapes, and asymmetry, modern homes make a pronounced statement. Neutral color palettes are common on modern homes, because they emphasize the striking architecture and complement the natural surroundings These palettes include grays, black, and hints of warm accents with other materials. Diamond Kote offers Solid Colors, DuoBlend Premium colors for […]
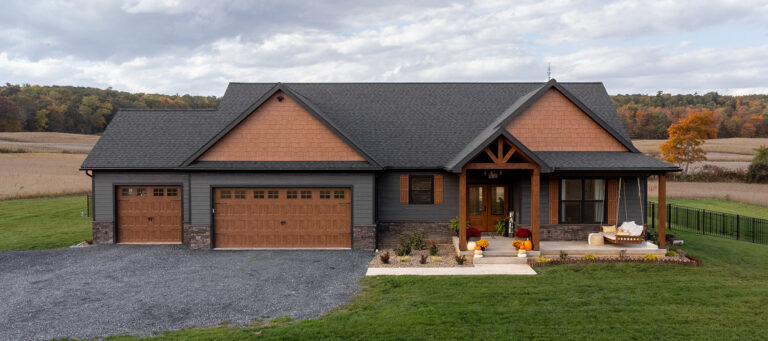
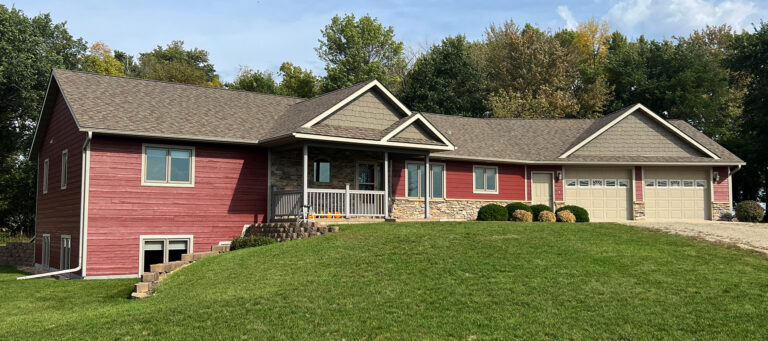
Whether you’re building a new home or remodeling your current home, choosing the right siding colors is an essential part of the overall design. For remodels, it’s important to pay attention to existing colors that won’t be replaced, like stone, roofing, windows, fascia, and soffit, as those elements can impact your siding color choices as […]
What is Board and Batten Siding? This wildly versatile and incredibly popular siding style is made from vertical panel siding with batten strips applied over the seams, which adds dimensionality and emphasizes the height of the building. The batten strips are commonly placed either 12″ or 16″ apart. The former is best on compact walls, […]
Choosing new siding colors can be daunting, but picking out the perfect roofing color to complement the siding colors can be even more difficult. Once your final siding and roofing color decision has been made, however, you’ll have a showstopping exterior that will turn heads. Follow this simple guide on choosing the perfect roofing color […]

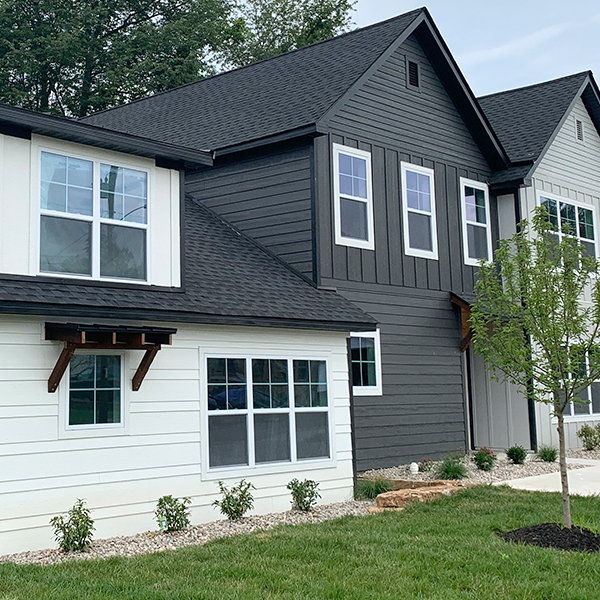
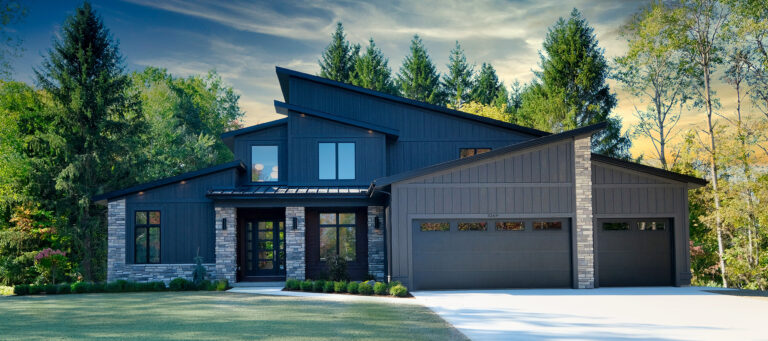
Did you know you can mix siding styles to bring your unique vision of your home to life? Diamond Kote Siding System offers a variety of siding styles, including lap siding, shake siding, grooved and grooveless paneling and board and batten. Using multiple siding styles is an easy way to elevate your home’s overall curb […]

Storm & Hail Damage to Homes in the U.S. According to the NOAA Severe Storm database, there were 3,763 significant hailstorms in 2021, with hail measuring 1″ diameter or more, causing billions of dollars worth of damage. The Midwest is hit the hardest during the summer months – Indiana, Ohio, Wisconsin, Illinois, Kansas, and Oklahoma […]
Designing your dream exterior can be a little daunting. Choosing the perfect siding colors. Finding the right siding style to elevate the architectural style of your home. Deciding if you want to subtly enhance the neighborhood or make a real statement. That’s why we asked our Diamond Kote design experts for five unique ideas that’ll […]
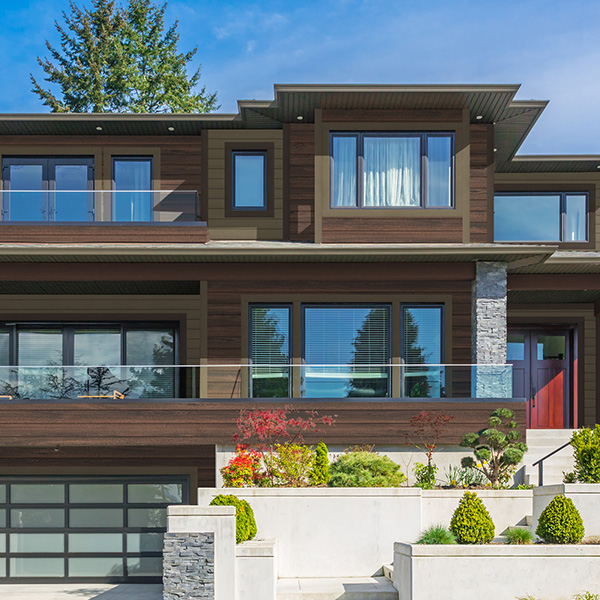
Getting the look of authentic wood siding colors has never been easier: meet the WoodMark collection, exclusively on Nickel Gap cedar textured siding and 8″ Smooth Lap Siding with RigidStackTM. This collection combines authentic woodgrain textures and the natural warmth of real wood siding colors with the superior strength of engineered wood siding to help […]
The exterior of a home is the first thing people see and choosing the right siding color is a big commitment. Selecting the right colors for exteriors matter – it shows off personalities, overall style, and the vibe guests expect upon entering your home. When deciding on a siding color, there are a few things […]